")
Hey there!
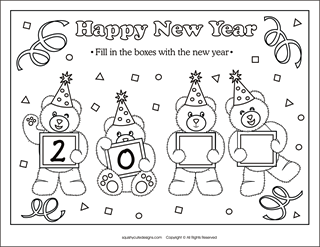
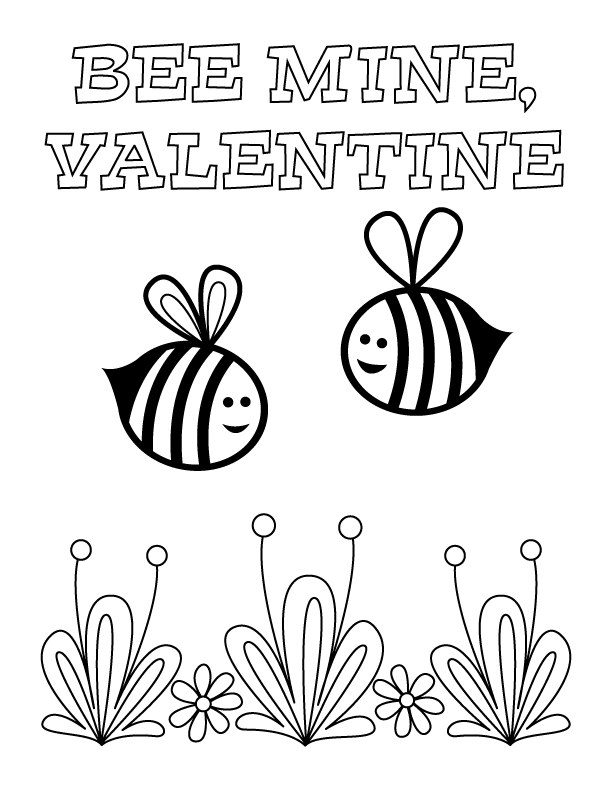
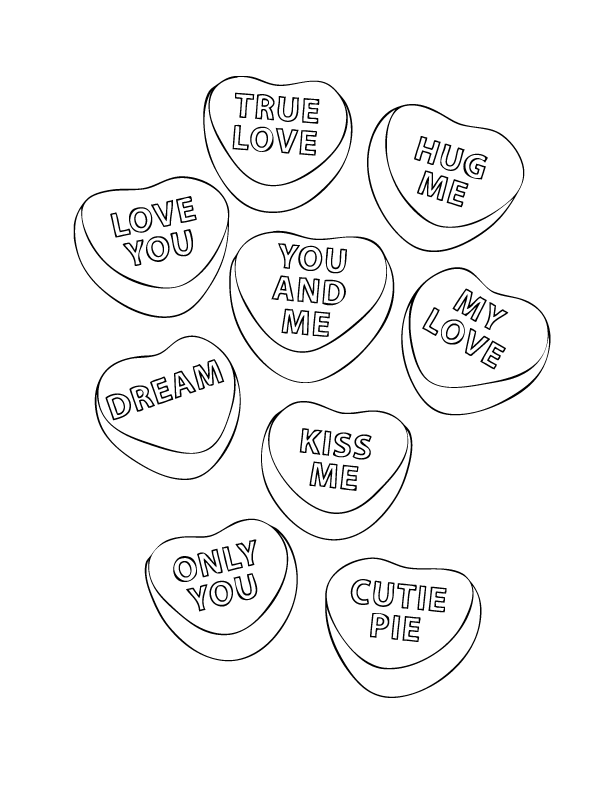
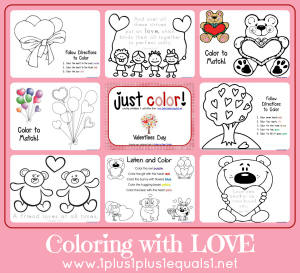
Got a bunch of NEW free printable valentines that I just finished, and am so stoked to share them <3
These can be simply written on the back of and handed out, printed in wallet size hole punched and tied to treats, OR framed :D
Enjoy, Hope your Valentines Day is Super!
")
")
")
")
")
")
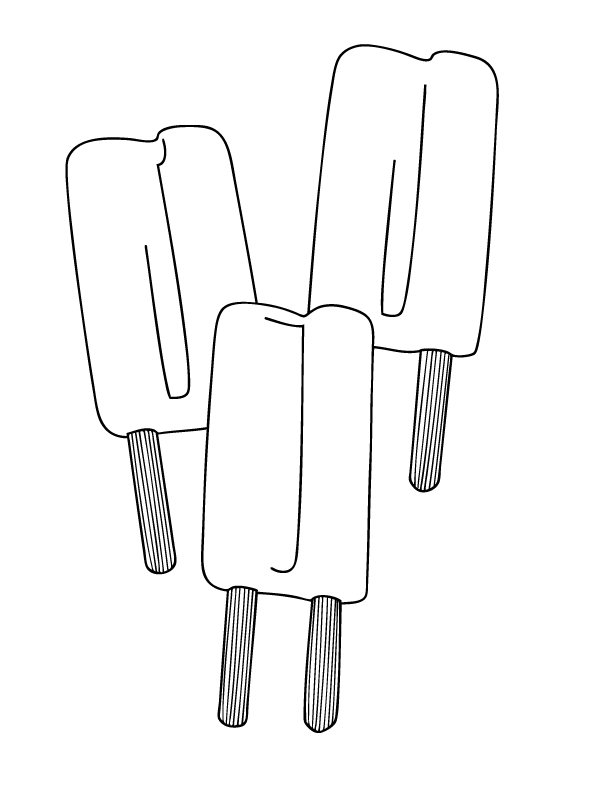
Treat idea:
Would be awesome to attach to some rootbeer float cookies, OR and boat toy or game.
")
So, my mother-in-law made us some awesome church picture ones, and I thought I'd make some Valentines ones too, since my kids loved them so much!
What you'll need to make your puzzle valentines:
- large (or regular) colorful popsicle sticks (find them HERE -2.99-for 100!)
- markers (for the numbering on the back OR drawing your own picture)
- prints with a picture or message (all over this page!)
- snack food bags (for labeling and storing each puzzle)
- glue
- scissors
- pen or pencil (for making stripes on the back to cut)
- Extra colorful or patterned paper if you want to create a border around your print (optional)
How To:
- Pick your print. print at home or at the store... cut out, decide how many sticks long you want your puzzle, then trim off any excess of your picture as needed. my end sticks werent quite a whole stick so measure accordingly if you want yours that way.
- flip over picture and trace the edges of your sticks all the way up (or down) your print.
- Cut your puzzle strips (try to keep them in order as you cut them, saves possible confusion)
- start with one stick in front of you, spread glue on the first strip of paper, center on your stick
- grab another stick and line it up with the first. take the next stip in order and glue the back...bring over and line up with the first picture, etc.
- after all are glued, may need to place heavy books on top to flatten
- then turn one stick over at a time (making sure to turn each stick the EXACT same way, trust me, can make it tricky if you dont---making numbers upside down or on the opposite side as most of the other numbers) and number them [straight in the center or down one side]
- and thats it! label a snack bag (with or without a sticker label) and you are set!
")
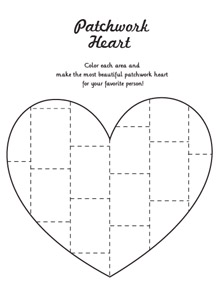
idea: Would be cute attached to any puzzle OR printed to make it into a puzzle valentine!
")
Treat idea: Would be super cute to attach to a treat bag of mini mallows on pretzel sticks! OR a good 'ol s'more/s'more treat mix!!
")
")
")
Now, this one will be included with some Cute kids decor prints (to come!)
BUT figured it was a cute one for Valentines Day as well!
Planning to use one of these for your Valentines Day OR Events?!
I would love to hear about it!
Tell me,
WHICH ONE IS YOUR FAVORITE?!


")
")